

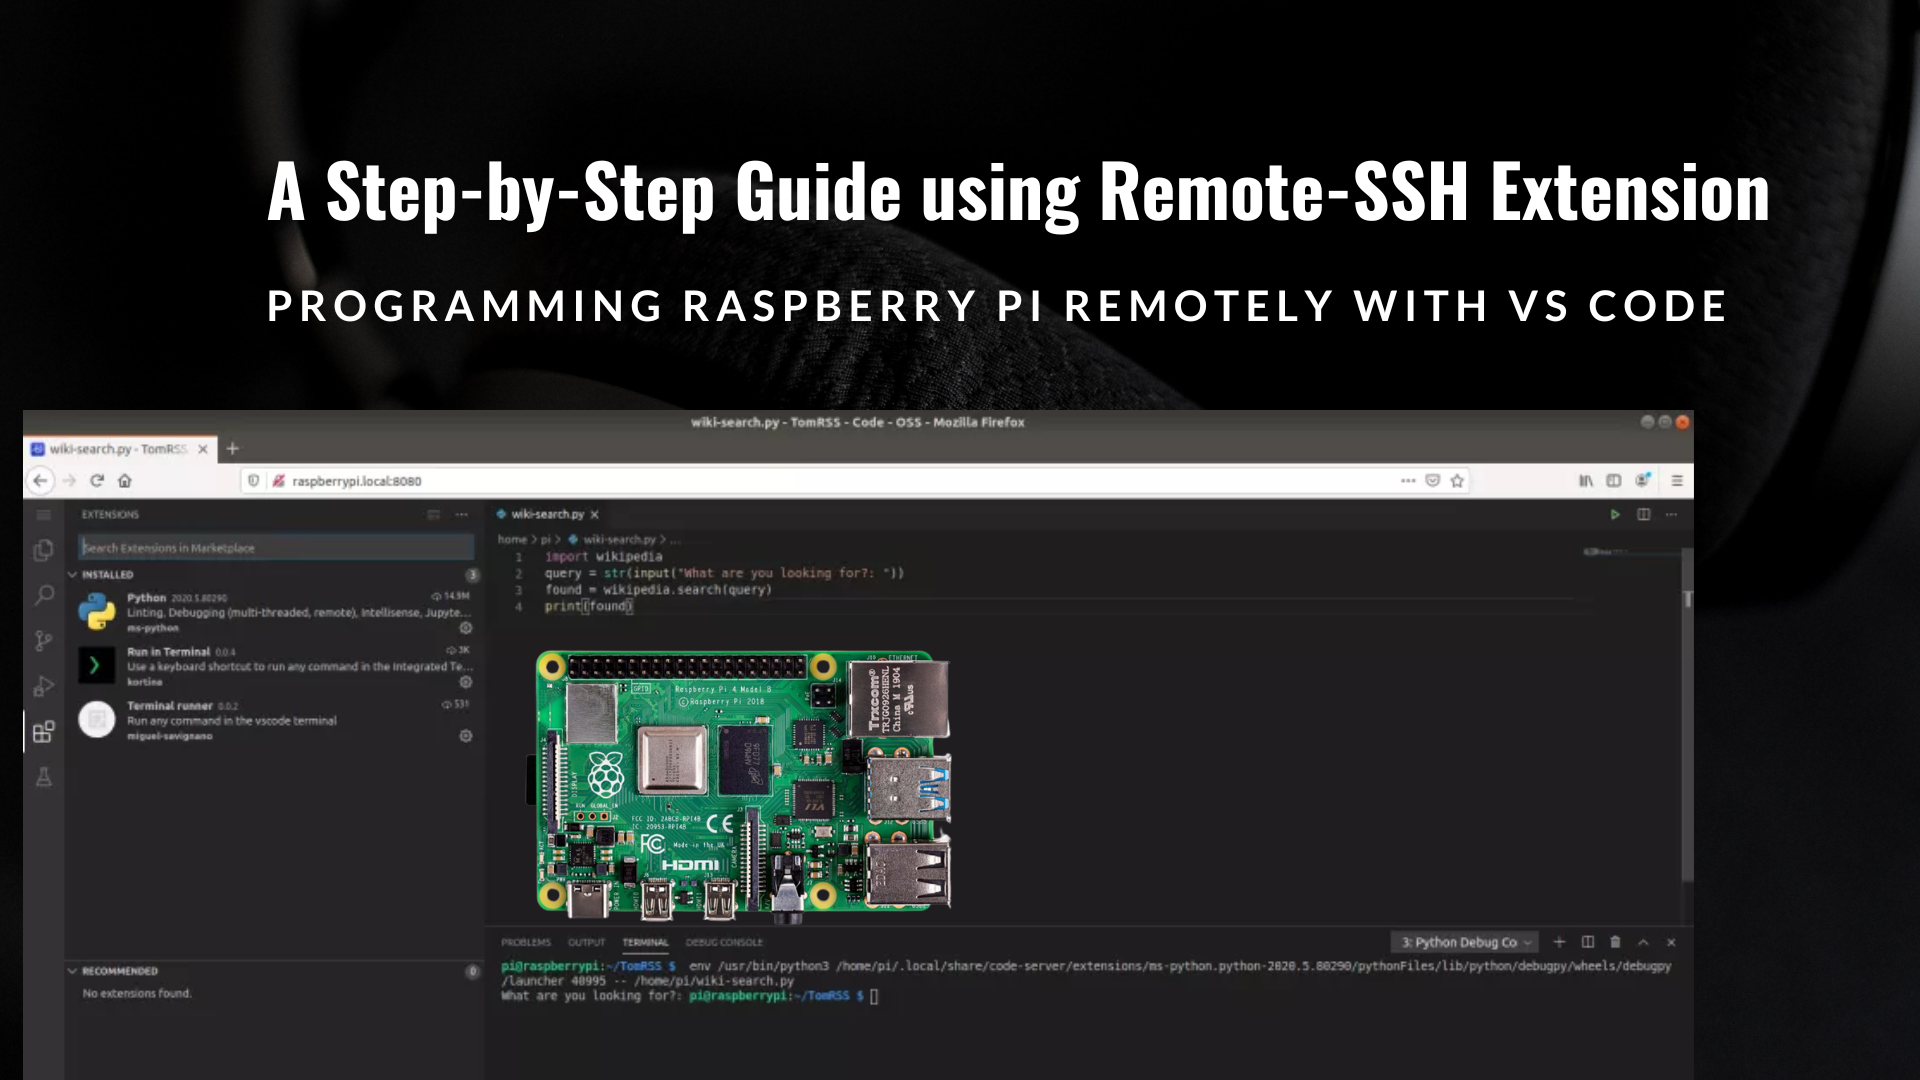
Tutorial on programming Raspberry Pi remotely using VS Code with the Remote-SSH extension:
Prerequisites:
- A Raspberry Pi with SSH enabled and connected to the network.
- A computer running VS Code with the Remote-SSH extension installed.

Step 1: Install Remote-SSH extension in VS Code
- Open VS Code and click on the Extensions icon on the left-hand side of the window.
- Search for "Remote-SSH" in the marketplace and install it.
- Once the installation is complete, restart VS Code.
Step 2: Create a new SSH configuration
- Click on the Remote Explorer icon on the left-hand side of the window.
- Click on the "Add New SSH Host" button in the top left corner.
- Enter the SSH configuration details for your Raspberry Pi, including the IP address, username, and password.
- Save the configuration and give it a name.
Step 3: Connect to Raspberry Pi via SSH
- Click on the SSH configuration you just created in the Remote Explorer.
- Click on the "Connect to Host" button in the top left corner.
- VS Code will establish an SSH connection to your Raspberry Pi.
Step 4: Open a remote folder in VS Code
- Once you are connected to your Raspberry Pi via SSH, click on the "Open Folder" button in the bottom left corner of VS Code.
- Select the folder on your Raspberry Pi that you want to work on.
- VS Code will now open that folder as a remote workspace.
Step 5: Start programming
- You can now start programming on your Raspberry Pi from your local computer using VS Code.
- When you save your files, they will be saved on your Raspberry Pi.
Step 6: Disconnect from Raspberry Pi
- When you are finished working on your Raspberry Pi, click on the Remote Explorer icon on the left-hand side of the window.
- Click on the SSH configuration you created earlier and select "Disconnect from Host" to end the SSH connection.
Step 7: Troubleshooting
If you encounter any issues during the connection process, here are some troubleshooting tips:
- Make sure that your Raspberry Pi is connected to the network and has SSH enabled. You can check this by logging into your Raspberry Pi via SSH using the terminal.
- Make sure that your computer and Raspberry Pi are on the same network.
- If you're using a Windows computer, you may need to install an SSH client like PuTTY to establish an SSH connection.
- Double-check that you entered the correct IP address, username, and password in the SSH configuration.
- Try connecting to your Raspberry Pi via SSH using the terminal to see if the issue is specific to VS Code.
You Might Also Like:
- IdentiPi: A Compact Fingerprint HAT for Raspberry Pi Pico
- Connect your embedded devices effortlessly with ESPi - the Ethernet Board based on ESP32
- PiCoder - Pico Learning Kit with Free Live Training 100% DIY Learning kit
Conclusion
Programming your Raspberry Pi remotely using VS Code with the Remote-SSH extension is a convenient way to work on your projects without needing to be physically present. This tutorial has covered the steps needed to set up a remote SSH connection to your Raspberry Pi and start programming using VS Code. By following these steps and troubleshooting tips, you should be able to establish a remote connection and start programming on your Raspberry Pi in no time!

.png)


