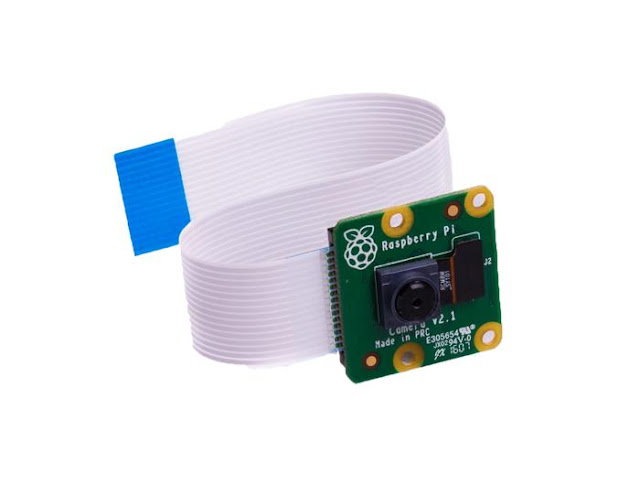
Here we'll share you how to use your Raspberry Pi Camera Module and we'll also show you haw to click picture as well as video from your Raspberry Pi Camera.
- Best Raspberry Pi Pico Breakout And Pico HAT
- Raspberry Pi Pico 2 Channel Expander | GPIO Expander For Pico
- Pico Projects For Beginners - Raspberry Pi
- Raspberry Pi Pico RP2040 | Most Affordable Super Tiny Computer
- Getting Started With Your Own Raspberry Pi Single Board Computer
- Raspberry Pi HAT Review | Top Raspberry Pi HAT's 2021
Installation Of Raspberry Pi Camera Module
As you may have different Models of Raspberry Pi you don't have to worry about how you'll install, It's very simple every Models of Raspberry Pi Board mention on board were you've to plug the Raspberry Pi Camera Module here you can see in the image below:
In every Raspberry Pi Model you will find this "Camera printing on Board" you just need to plug in the slot now Connection of your Raspberry Pi Camera Module Complete.Running Raspberry Pi Camera Module
After connecting the camera to Raspberry Pi Board you need to boot up your Raspberry Pi, Once your Raspberry Pi Booted up you need to update the following command in the terminal.
sudo apt-get-update
sudo apt-get upgrade
Now go to Raspberry Pi configuration tool by running following command:
sudo raspi-config
Now go to "Interfacing Options" and then select the "Camera" option and enable it,
Now reboot your Raspberry Pi and now you're connected enjoy...
How to take photo with your Raspberry Pi Camera
To take picture with your Raspberry Pi Camera Module is simple you just need to use following command:
raspistill -o image.jpg
here "image" is the name of your image which is going to save on your Raspberry Pi.
Record Video with your Raspberry Pi
For recording video on your Raspberry Pi you need to use the following command:
raspivid -o video.h264 -t 10000
Here, "video" is the name of your video and "10000" is the number of ms (milliseconds)
You can Buy Raspberry Pi Camera Module from SB Components


.png)


